Dictate Your Blog Posts: From Idea to First Draft by Voice
A complete workflow for using voice dictation to go from a blog post idea to a full first draft — faster than typing and with less of the blank-page paralysis.
SERP Transcribe Team
Product
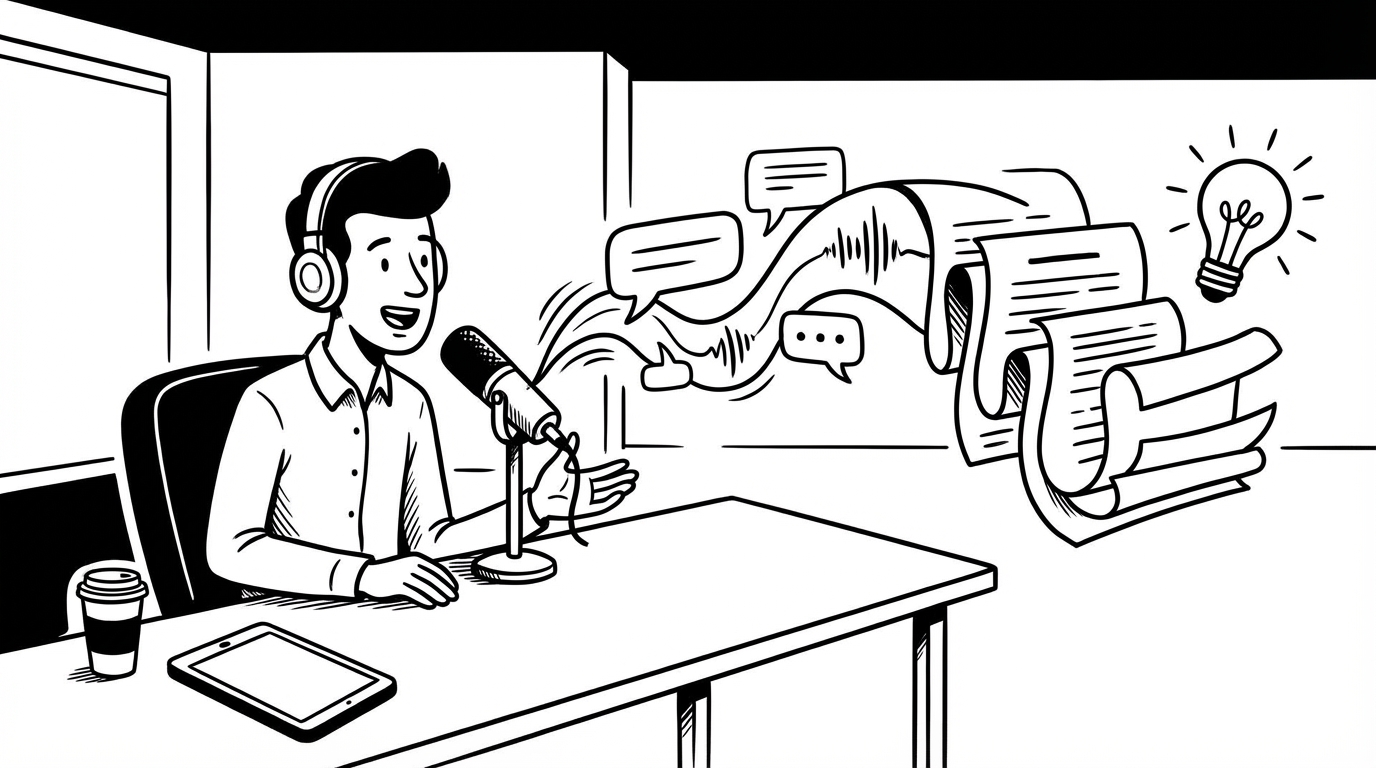
Most blog posts don't get written because they get stuck at "I should write that up sometime." The gap between having an idea and having a 1,000-word draft is wide enough that the post never happens.
Voice dictation closes that gap significantly. Here's a workflow that takes you from rough idea to publishable first draft — almost entirely by speaking.
Why Blogging and Dictation Are a Natural Fit
Blog posts are a lot closer to how you'd explain something to a person than to how you'd write a formal document. The best blog posts sound like a smart person talking — clear, direct, with a point of view. That's exactly how you speak when you know something well.
Typing a blog post often introduces a formality gap: you write differently than you talk, and that difference doesn't always improve the output. Many writers find their dictated blog drafts sound more natural and engaging than their typed ones. The editing pass then tightens and structures what the voice captured.
Step 1: The Two-Minute Outline by Voice
Before you dictate the full post, spend two minutes dictating a rough outline. Don't type it — speak it into a scratch doc.
Hold the hotkey and say something like:
"Okay, this post is about why developers should write better commit messages. Main points: first, why the current state is bad — everyone writes lazy commits. Second, what a good commit message looks like — subject line plus body, the why not the what. Third, the friction argument — why people don't do it, it's not knowledge it's laziness. Fourth, how dictation fixes this — 15 seconds to speak a body, no excuse. End with a quick how-to."
That's your structure. Paste it, read it back, adjust if needed. You now have a skeleton to fill in.
Step 2: Dictate Section by Section
With your outline in front of you, go section by section. For each point, hold the hotkey and speak the full content of that section — don't worry about perfect prose, just explain the point as if you're talking to your target reader.
Example — dictating the opening section:
"Most developers write commit messages like 'fix bug' or 'update stuff' and think that's fine. It's not fine. Six months from now, when someone is trying to understand why a change was made and the only record is 'fix bug' — maybe that someone is you — you'll wish you'd written more. The commit log is the closest thing a codebase has to a history of reasoning, and most codebases have almost none."
Paste, move to the next section, repeat. By the time you've gone through each outline point, you have a complete rough draft.
Step 3: The Keyboard Pass
After dictating the full draft, switch to keyboard mode for the edit pass:
- Fix any transcription errors
- Tighten verbose phrases (spoken language is usually more repetitive than written language needs to be)
- Add any structured elements you want to include — subheadings, code blocks, pull quotes
- Check that your opening paragraph hooks the reader and your closing paragraph lands the point
This pass typically takes 15–25 minutes for a 1,000-word post. Total time from blank page to edited draft: 30–45 minutes for a post that would take most bloggers 90 minutes to two hours to type from scratch.
Handling Different Types of Blog Posts
How-to posts: Easy to dictate. You're explaining a process you know. Speak through the steps in order, paste, then add numbered formatting in your keyboard pass.
Opinion / take posts: Also easy — you have a position, you speak the argument. Dictation often produces more confident, direct takes than typing because you're not second-guessing each sentence as it appears.
Research-heavy posts: Harder. You'll need tabs open with your sources, and you'll need to type specific facts, statistics, and quotes. Use dictation for your analysis and commentary; type the specific data points. The hybrid approach works well here.
List posts: Dictate the introduction and conclusion. For the list items themselves, either dictate each item with its explanation in a burst, or type the list structure and dictate the explanation for each item.
Staying in the Dictation Mindset
The biggest enemy of a dictated first draft is your inner editor — the voice that says "that sentence was clunky, go back and fix it." Don't. Finish the draft first, edit after.
A useful framing: your dictated draft isn't a first draft. It's a zero draft — raw material that will be shaped into a first draft in the keyboard pass. Zero drafts are allowed to be messy. That permission keeps you moving.
From Draft to Published
After your keyboard edit pass, your post is usually close to publishable. Typical remaining steps:
- Read aloud once more to catch anything that sounds off
- Add images, links, or media
- Write the meta description and title (if you didn't dictate them already)
- Publish
The whole process — idea to published post — can realistically happen in under an hour for a 1,000-word post. Compare that to the posts currently sitting in your drafts folder that have been "almost done" for three weeks.
Dictation doesn't make you a better writer. But it makes writing happen, which is most of the battle.